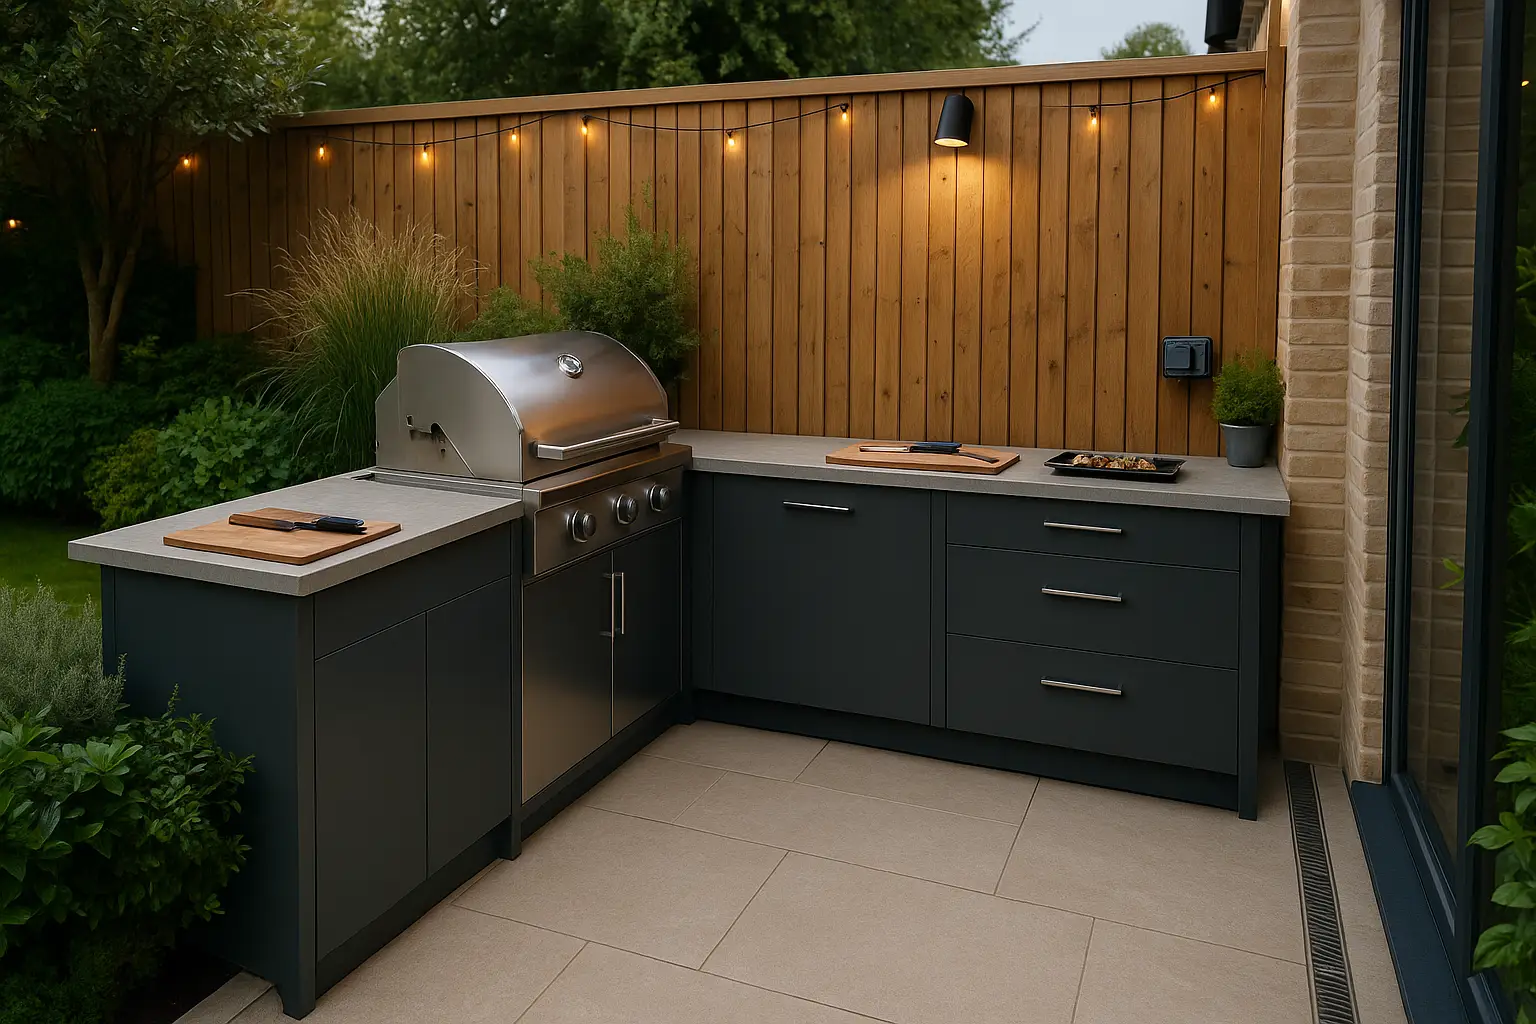
Great outdoor kitchens begin with a small set of reliable pieces you will use three nights a week. Day one is about heat, real prep space, safe power and clear lighting. You can add pizza ovens, fridges and extras later once you know how you cook outside.
Choose one main cooker
Pick a primary heat source that suits everyday meals. Gas gives quick, calm control for weeknights. A ceramic charcoal cooker adds flavour and range if you enjoy longer cooks. If smoke is a concern, an electric plancha or a portable induction hob handles a surprising amount of cooking with very low plume. Whatever you choose, make sure it has a good lid, steady temperature control and enough surface to feed your household without endless batches.
Give yourself real prep space
A proper worktop changes everything. Aim for at least one metre of clear prep beside the cooker plus a second landing zone for hot trays. Sintered stone and granite shrug off heat and weather. External grade porcelain works well too. Mid tones hide day to day marks better than very light or very dark finishes.
Sort the layout
Keep the hot zone at the terrace edge so people can move behind the cook. Allow at least 90 cm of walkway. Put prep to your dominant hand and a landing shelf to the other side. Seat guests where smoke seldom drifts and where evening light feels kind. This simple arrangement keeps food and conversation flowing.
Cooking by phone torch is not a plan. Fit a focused task light over the grill and prep so you can read a thermometer and judge doneness. Add softer ambient light where people sit and low markers along steps and routes. Warm white around 2700 to 3000 K flatters stone and food and helps the space feel welcoming.
Plan safe power
Outdoor rated sockets on an RCD protected circuit keep things simple and safe. Use in use covers where plugs will remain connected. Route cables so nobody steps over leads with hot trays. If you run gas, store the cylinder in a ventilated compartment and protect hoses from heat and feet.
Choose slip safe paving
Feet should feel sure even after rain. External porcelain with a tested wet slip rating is an easy choice and cleans well. Textured natural stone also performs if specified for outdoor use. Set gentle falls so water moves away from the house and fit a discreet linear drain at thresholds. Good drainage makes cooking calmer.
Add basic storage
A couple of weather sealed drawers near the cooker will transform your routine. Keep tongs, spatulas, a probe thermometer, gloves, trays and cleaning cloths here so you can start cooking without a hunt indoors. If you burn charcoal or wood, store fuel in sealed bins under cover so it lights cleanly.
Your first shop
Fuel and ignition for your cooker. A fast read probe thermometer. Solid tongs and a long handled spatula. Heatproof gloves. One large chopping board that does not skate. Two trays for carrying food out and back. Mild degreaser, paper towels and a soft brush for reset. Covers for appliances once cool.
Keep month one stress free. Burgers, sausages, skewers, chicken thighs, prawns, asparagus, corn and flatbreads cover most evenings. Save whole joints and pizza for later when you know your heat and airflow.
What to add in phase two
Once you are cooking often, you will know what you miss. Popular upgrades include a plancha for low smoke nights, a small pizza oven for weekends, a drinks fridge and a louvred roof for shelter. Because services were planned from day one, adding pieces later will not mean lifting paving.
Takeaway
A useful outdoor kitchen does not start as a showroom. It starts with one dependable cooker, real prep space, safe power, clear lighting and a surface that drains and grips. Keep tools to hand, build simple habits and let the space earn its keep. When you use it three nights a week, you will know exactly which upgrades will bring the most joy.
Ready to set up your day-one outdoor kitchen? Book a free design consultation.
Book your free design consultation »