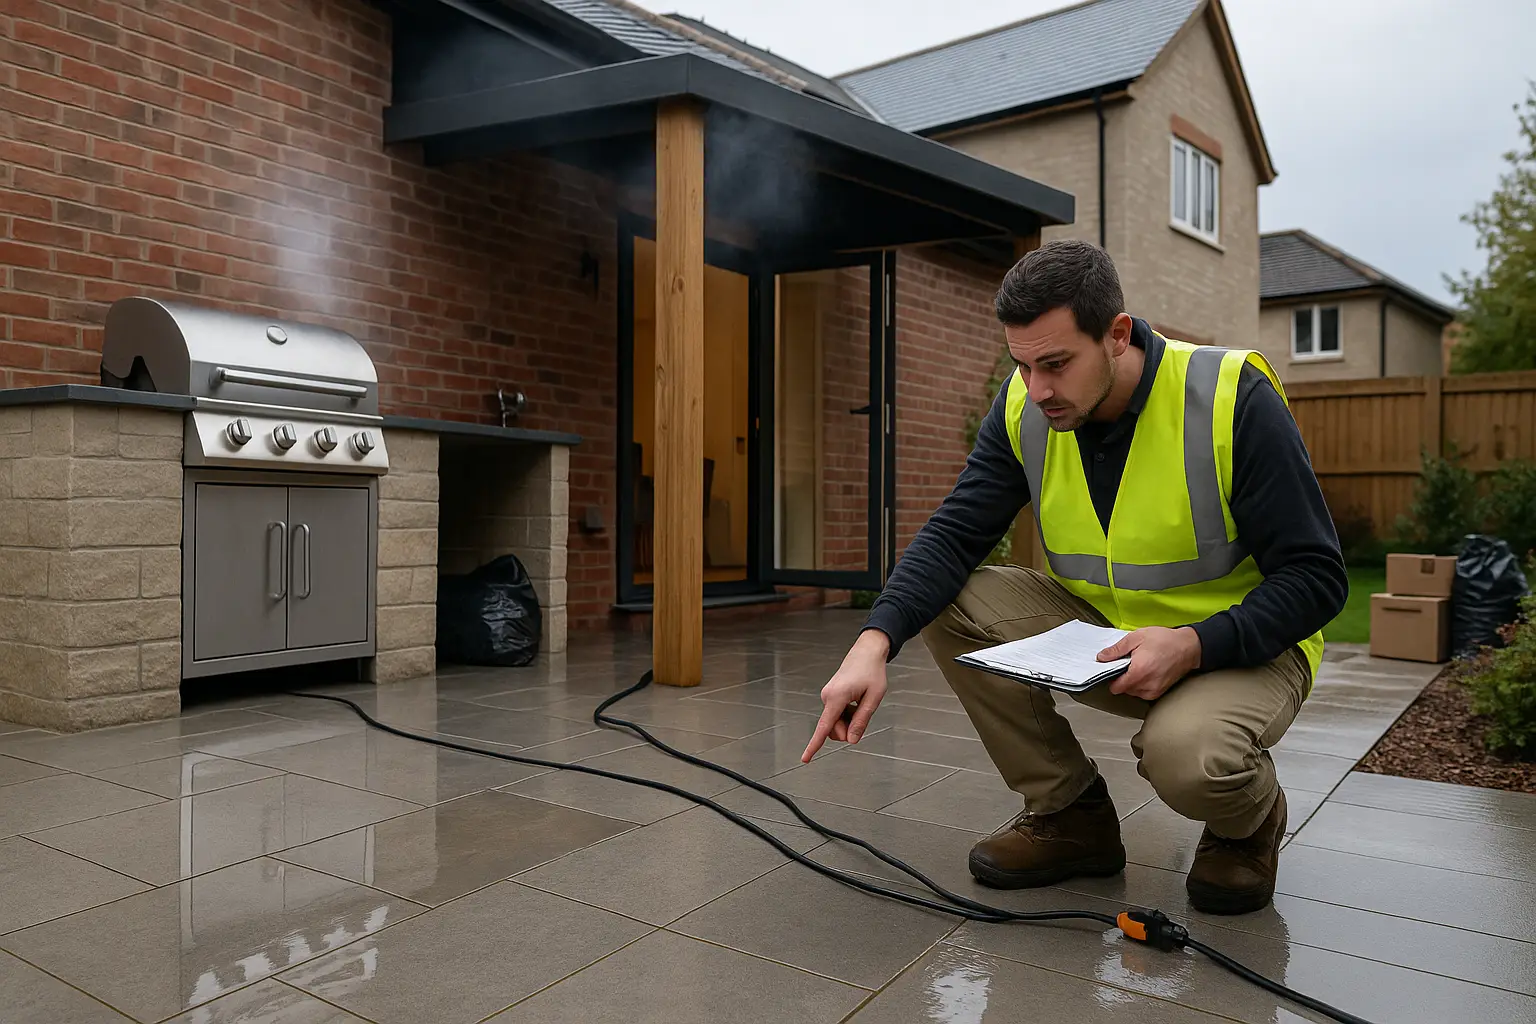
Outdoor kitchens look simple, yet they combine landscaping, joinery, plumbing, electrics and fire safety. Problems usually come from skipping the early plan, copying a glossy photo that does not match your site, or choosing materials that will not survive weather. Use the list below as a pre-start checklist so you can cook confidently for years.
Mistake 1: Skipping a site and microclimate assessment
Every garden has warmer and colder spots, wind tunnels and damp corners. Spend time outside at different hours. Track sun paths, shade lines, and the prevailing wind. Position the kitchen where smoke will drift away from doors and seating, and where winter sun can reach the chef.
Mistake 2: Putting the kitchen in the wrong location
Too close to the back door and odours drift indoors. Too far away and carrying plates becomes a chore. Aim for a short, safe route from the house with enough separation to keep fumes out. Leave clear walkways of at least 900 mm around hot zones.
Mistake 3: Poor drainage and level design
Flat patios hold puddles, which means slippery tiles and dirty hems. Build in falls of roughly 1 to 2 percent away from the house and seating. Add linear channels at thresholds and along the kitchen run, with access for cleaning.
Mistake 4: Choosing the wrong materials
Porous stone stains and cracks, shiny tiles become ice rinks, and indoor worktops fail outside. Pick external-grade porcelain or other low-porosity surfaces with frost resistance. Use exterior adhesives and flexible grout that tolerate freeze–thaw cycles.
Mistake 5: Ignoring slip resistance
Smooth paving looks sleek but turns risky when wet. Choose tiles with an external slip rating suited to rain and winter. Keep step noses visible with a subtle contrast detail.
Mistake 6: Under-specifying shelter
A bare patio limits you to perfect weather. Plan a pergola or louvred roof that deflects showers while allowing airflow. Fit gutters and downpipes so run-off does not sheet across the terrace. Avoid fabric directly over grills.
Mistake 7: No plan for smoke control
Placing a grill under a low solid roof traps fumes. Use height, open sides and the wind direction to lift smoke away. In tight urban gardens consider an outdoor-rated hood with baffle filters and the correct duct route.
Mistake 8: Services added as an afterthought
Water, waste, gas and electrics need safe routes and isolation points. Run conduits before paving. Use RCD-protected outdoor circuits and IP-rated fittings. For gas, use a qualified professional and respect manufacturer clearances.
Mistake 9: Ignoring fire and heat clearances
Combustibles too close to a grill is a common error. Check appliance manuals for minimum distances to timber, screens and roof members. Keep a suitable extinguisher and fire blanket within reach.
Mistake 10: Buying appliances before designing the layout
Start with workflow, then pick kit. Decide prep space, hot zone, and serving route. Allow generous worktop both sides of the grill. Confirm clearances first, then choose the model that fits the plan.
Mistake 11: Not enough storage or weather-tightness
Open shelves collect grime. Specify closed, ventilated cupboards for utensils and crockery. Keep charcoal and wood in sealed bins. Add a drawer near the dining area for blankets and matches.
Mistake 12: Weak lighting plan
A single bright floodlight gives glare and shadows. Layer task lighting for prep, a focused light at the grill, and softer ambient lights for dining and routes. Warm colour temperatures feel welcoming in cold months.
Mistake 13: Forgetting children, pets and circulation
Seats that back into the hot zone, or a narrow pinch point near the grill, invite accidents. Keep the cooking line at the perimeter, protect the rear with a low wall or planting, and keep traffic routes wide.
Mistake 14: Neglecting maintenance access
If you cannot remove drip trays, clean burners or reach service valves, you will not maintain the space. Design in removable panels and space to get tools in. Choose finishes that wipe clean, not ones that need constant sealing.
A quick pre-start checklist
-
Map sun, shade and wind
-
Confirm falls, drains and thresholds
-
Select external-grade, slip-resistant materials
-
Plan smoke path and shelter
-
Route services with isolation points
-
Check clearances and safety kit
-
Layer lighting and power points
-
Design workflow, storage and access
-
Agree budget, phasing and permissions
-
Prepare winterisation and handover pack
Conclusion
An outdoor kitchen earns its keep when it works in real weather, feels safe underfoot and is easy to look after. Avoid the common pitfalls by planning location, drainage, materials, services and safety first, then choosing appliances that serve the layout. Do that and you will have a space that is beautiful on day one and still brilliant five winters from now.